Bacon Cheeseburger Pull-Apart Sliders
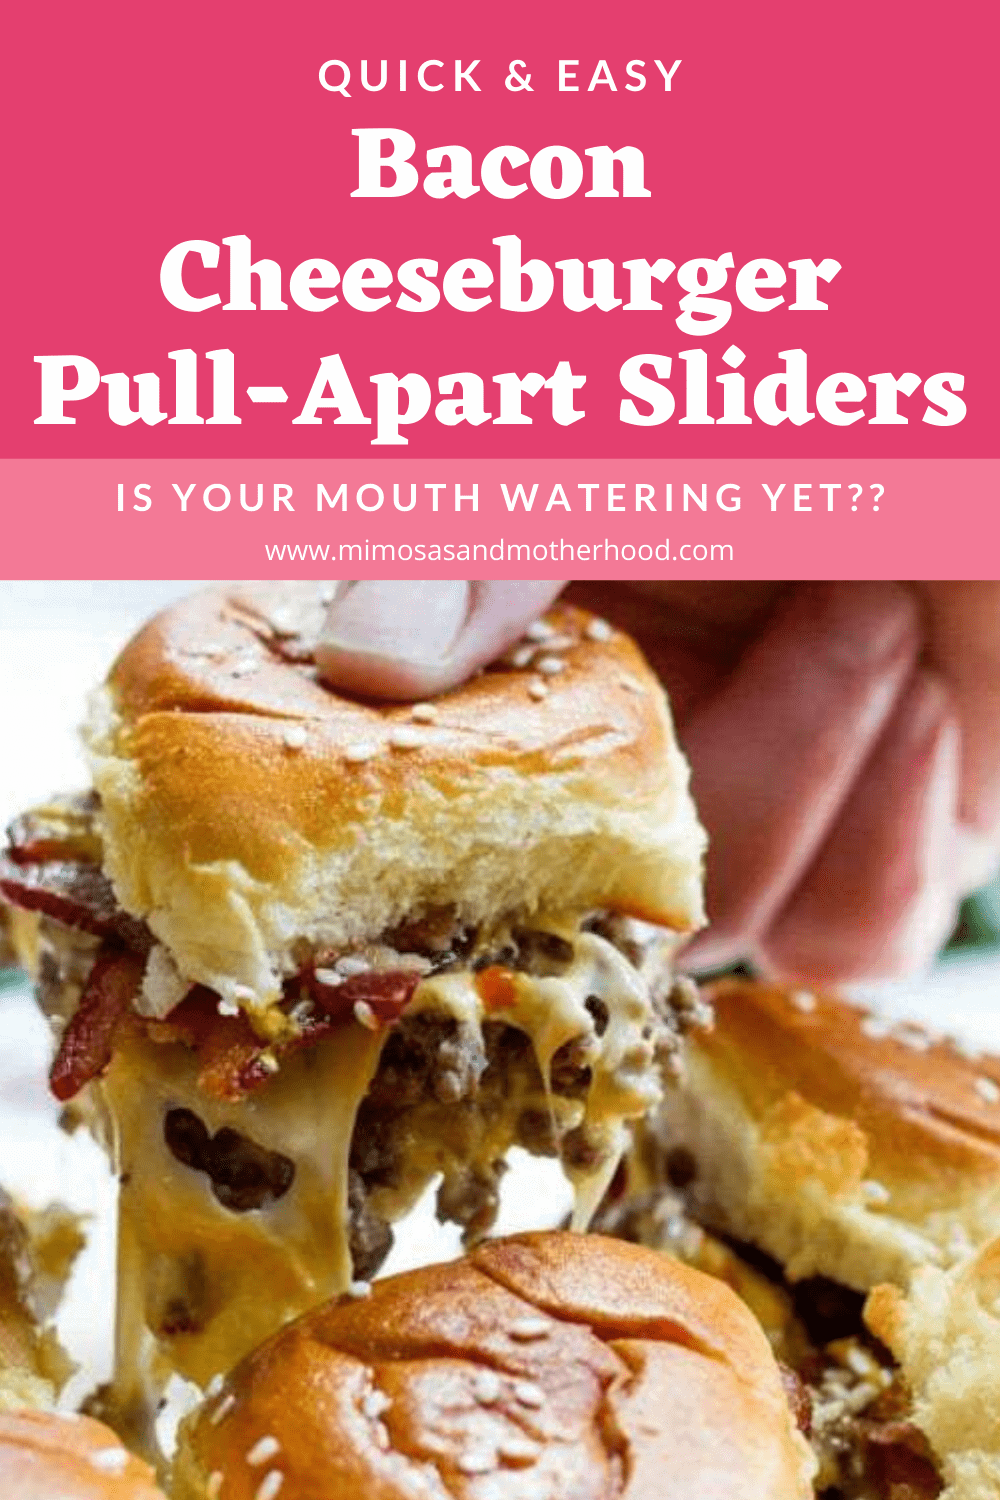
These Bacon Cheeseburger Pull-Apart Sliders are an easy, family-friendly dinner that tastes like a cheesy bacon burger without the work of shaping and flipping individual patties! Cook the seasoned ground beef in one skillet, layer it with bacon and cheddar cheese between slider rolls, and bake until the tops are toasty and the cheese is melted. They’re just as fun for game day or a potluck as they are for a busy weeknight.
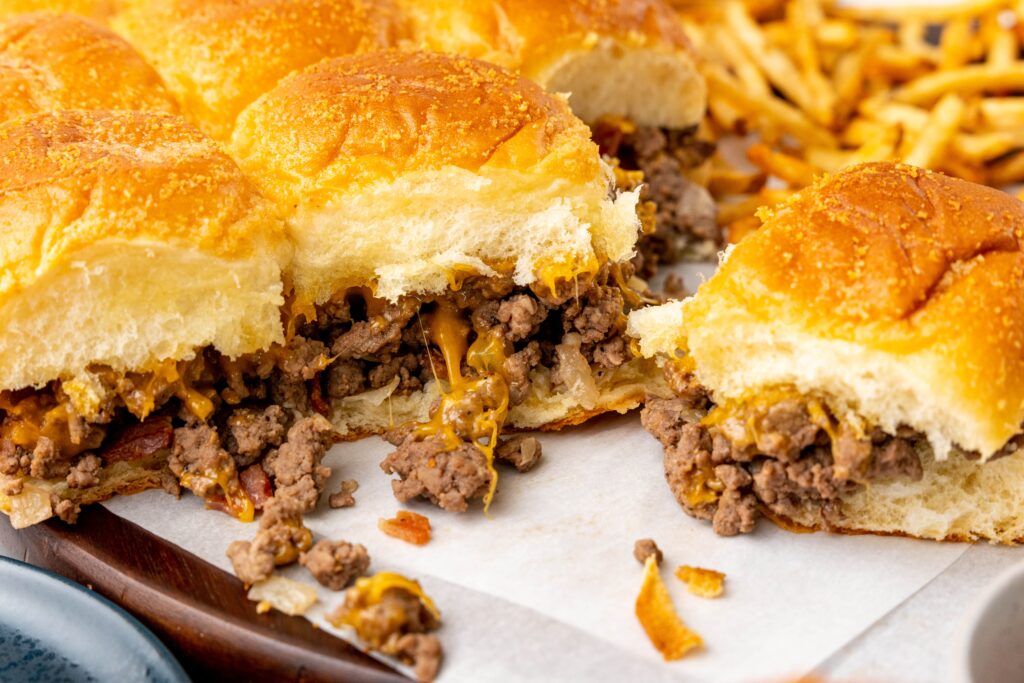
Raise your hand if your family loves mini burgers! Mine absolutely does, but making lots of tiny burger patties is not my idea of a quick meal. This pull apart sliders recipe is my favorite shortcut: instead of cooking each burger separately, I spread a juicy, seasoned beef mixture across a whole tray of rolls and bake them together.
I first came up with these bacon cheeseburger sliders to satisfy my husband’s bacon craving. The best part is that you can customize the cheese and toppings to fit your whole family. Make them for dinner, a game day snack, or party food—and don’t be surprised if they disappear quickly.
If you’re collecting easy recipes for busy nights, you might also love my bacon tater tot casserole or kid-friendly cheese quesadillas. Both are great options when everyone is hungry and you need dinner without a production.

Note: Some links may be affiliate links. That means I may make a commission if you use my links to purchase, at no extra added cost to you! I only recommend products that I personally love and believe in. Full disclaimer here.
Why This Pull-Apart Sliders Recipe Works
- No individual burger patties: Cook one batch of crumbled ground beef in a large skillet and spoon the beef mixture over the buns.
- Easy to customize: Use cheddar cheese, another melty cheese, and any toppings your family enjoys.
- Great for groups: A tray of pull-apart sliders works for family dinners, game day, or a casual party.
- Make it your own: Use different slider rolls or switch up the filling next time.
Ingredients for Bacon Cheeseburger Pull-Apart Sliders
The ingredients are simple, and most are things you may already have at home. Here’s what I use; check the original recipe card for the full measurements and baking temperature and time.

- Slider rolls: I use King’s Hawaiian rolls for that sweet-and-savory combo, but other dinner rolls or slider buns work, too.
- 1 pound lean ground beef: Cook it until browned and fully done. You can use ground turkey instead if you prefer.
- 1 medium onion and garlic: For flavor in the beef mixture.
- Cheese slices: Our family likes mild cheddar cheese, but Swiss cheese or another good melting cheese could also work.
- Cooked bacon: Chopped bacon or bacon crumbles make these cheeseburger sliders extra satisfying.
- Seasonings: Creole seasoning, salt, black pepper, and garlic powder.
- Olive oil: For cooking the onion and garlic.
- Melted butter: Brush over the roll tops before baking.
- Optional toppings: Pickle slices, diced red onion, jalapeños, or caramelized onions—whatever you love on a burger.
Bacon Cheeseburger Pull-Apart Slider Recipe Tips
Cook the Beef Mixture First
Unlike a traditional burger patty, the filling for these cheesy pull-apart sliders starts with browned, crumbled ground beef. It’s similar to making taco meat—except you use burger-friendly seasonings rather than taco seasoning.
Cooking the beef before assembling the sliders keeps the process simple and ensures the meat is done before it goes into the oven. For food safety, ground beef should reach 160°F; ground turkey should reach 165°F. See FDA safe cooking temperatures.
Choose a Cheese That Melts Well
We originally made these with sliced mild cheddar cheese, and they turned out perfectly melty. Swiss cheese, American cheese, or another cheese you love on burgers would work for a different flavor. Add enough slices of cheese to cover the beef mixture evenly, without needing to pack each individual slider separately.

Pick Toppings That Hold Up in the Oven
I love bacon, pickles, caramelized onions, and jalapeños in these. If you want crisp lettuce and fresh tomatoes, I’d add them after baking so they don’t wilt or make the buns soggy. You can put warm-friendly toppings under the top bun before the tray goes into the oven.
Choose the Right Slider Rolls
Hawaiian rolls, potato rolls, and soft dinner rolls all make a great base. A serrated knife helps you slice a connected slab of rolls horizontally, so you can keep the bottom half and top bun layer intact. Sesame seeds or a sprinkle of seasoning on the tops of the rolls are optional finishing touches.
Don’t Skip the Final Bake
The ground beef is already cooked, but the oven is what turns these into true pull-apart sliders. The baking time melts the cheese, warms the filling, and gives the buttery tops a little toastiness. Cover the baking dish with aluminum foil as directed, then remove the foil toward the end so the tops can brown.
How to Make Bacon Cheeseburger Pull-Apart Sliders
This pull apart sliders recipe comes together in a few straightforward steps. Use the original recipe card below for exact quantities, oven temperature, and baking time.

Step 1: Cook the onion, garlic, and beef. Heat olive oil in a large skillet over medium-low to medium heat. Sauté the chopped onion and garlic, then add the ground beef and seasonings. Brown the beef thoroughly, breaking it into small crumbles. Stir the cooked bacon into the beef mixture during the last minute of cooking, then drain off excess grease.
Step 2: Prepare the rolls. Coat the bottom of a baking dish with cooking spray. Use a serrated knife to slice the slider rolls across the middle if they aren’t already split. Arrange the bottom half of the connected rolls in your dish.
Step 3: Assemble the sliders. Evenly spoon the beef mixture over the bottom buns. Layer on the slices of cheese and any oven-friendly toppings, then add the top bun layer.

Step 4: Add the garlic butter. In a small bowl, combine melted butter with garlic powder or crushed garlic. I like to use a silicone pastry brush like this one to spread the butter mixture evenly over the tops of the buns.
Step 5: Bake and serve. Cover with aluminum foil and bake according to the original recipe card, uncovering for the last few minutes to toast the roll tops. Let the tray stand briefly, then cut or pull apart into individual sliders and serve warm.

How to Keep Pull-Apart Sliders From Getting Soggy
The easiest way to avoid soggy buns is to drain excess grease from the cooked beef before assembling. Spread the filling evenly rather than piling it too high, and save watery or delicate toppings (like tomato slices) until after baking. The final uncovered few minutes help the tops of the rolls toast.
Can You Make Pull-Apart Sliders Ahead of Time?
For a day-ahead option, cook the beef mixture and bacon, let them cool promptly, and refrigerate them in an airtight container. When you’re ready to serve, assemble the rolls with the cold filling and cheese and bake according to the recipe card, allowing extra time as needed to heat everything thoroughly. I prefer brushing on the melted butter just before baking so the buns don’t get overly soft.
For game day or a party, you can also prep the toppings in advance and set out the rolls and baking dish. That leaves only a few minutes of assembly when you’re ready to cook.
Easy Variations to Try Next Time
Once you know the basic method, this pull-apart sliders recipe is easy to change up. Here are a few fun ways to use the same idea:
- Cuban sliders: Use hot ham or deli ham, Swiss cheese, pickle slices, and mustard.
- Pizza sliders: Use pizza sauce, mozzarella cheese, a little parmesan cheese, and favorite pizza toppings.
- Breakfast sliders: Try fully cooked eggs, cheddar cheese, and cooked breakfast sausage.
- BBQ sliders: Fill the rolls with leftover pulled pork or shredded rotisserie chicken tossed with BBQ sauce.
How to Store and Reheat Leftover Sliders
Refrigerate leftovers promptly, within two hours of cooking, in shallow airtight containers. For best food safety, use refrigerated cooked-beef leftovers within 3–4 days. To reheat, place the sliders in the oven until thoroughly hot; reheated leftovers should reach 165°F. See USDA storage advice.
You can also freeze individually wrapped portions in a freezer-safe container or bag for later. The texture of the rolls may change after freezing; reheating in the oven can help restore some of that fresh-baked texture. For a freezer meal, I prefer freezing the cooked beef filling separately and assembling with fresh slider rolls when it’s time to eat.
Helpful Tools for This Easy Slider Recipe
You don’t need fancy gear to make these, but a few everyday kitchen tools help: a large skillet to brown the beef, a baking dish or rimmed sheet pan sized for the slider rolls, a serrated knife to split the connected buns, and a silicone pastry brush for the garlic butter.
More Easy Family Dinner and Party Recipes
- Easy Peasy Bacon Tater Tot Casserole — another family-friendly comfort food.
- Creamy Dreamy Buffalo Chicken Dip — great for game day.
- Easy Cheese Quesadilla Recipe — a simple weeknight option.
- Easy Crockpot Sausage & Tortellini Soup — a cozy slow cooker dinner.

Made this recipe? I’d love to hear which cheese and toppings your family chose. If you enjoyed it, please leave a rating and a comment!
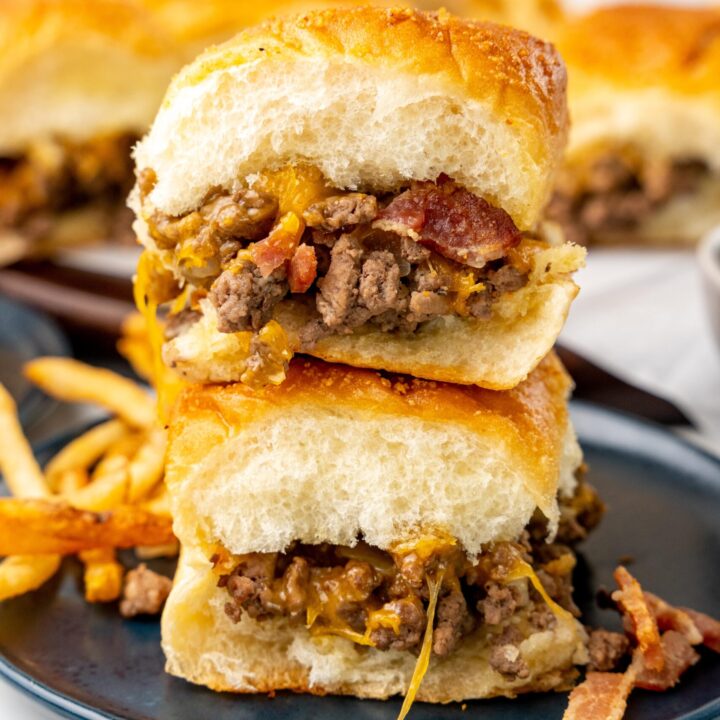
Bacon Cheeseburger Pull-Apart Sliders
These Bacon Cheeseburger Pull-Apart Sliders are an easy, family-friendly dinner that tastes like a cheesy bacon burger without the work of shaping and flipping individual patties! Cook the seasoned ground beef in one skillet, layer it with bacon and cheddar cheese between slider rolls, and bake until the tops are toasty and the cheese is melted. They’re just as fun for game day or a potluck as they are for a busy weeknight.
Ingredients
- 1 package (12) slider rolls (I chose Hawaiian for a savory yet sweet combo)
- 1 pound of lean ground beef
- ½ onion, diced
- 6-8 slices of cheese (your choice of flavor!)
- 6 strips of cooked chopped bacon or ¼ cup of bacon crumbles
- 1 clove crushed garlic
- 1 tablespoon creole seasoning
- 1 teaspoon salt
- Pinch of pepper
- Olive oil
- 1/2 stick of butter, melted
- 1 tablespoon garlic powder OR 1 clove of crushed garlic
Instructions
- Preheat oven to 325 degrees. Spray the bottom of a 9×13 baking dish with nonstick cooking spray.
- Add olive oil to the pan at medium low heat. Once warm, add the diced onions and crushed garlic, stirring regularly to prevent the garlic from burning.
- When the onions have become fragrant (about 5 minutes), add the ground beef to the pan, along with the creole seasoning, salt and pepper. Brown the meat thoroughly while being sure to toss with the onion mixture throughout the cooking time. Add the cooked bacon to the pan for the last minute of browning.
- Once browned, remove the meat mixture from heat, drain the oil and set the mixture aside.
- If needed, slice the slider rolls horizontally (while still attached) to make a top and bottom bun. Place bottom buns into the baking dish side by side, not leaving any room.
- Top the bottom buns with the beef mixture, then layer the cheese. Add the top buns.
- Make the butter topping by combing the melted butter with the remaining garlic (not a fan of garlic? No problem! Just leave it out. The butter is the important part here). Using brush or spoon thoroughly coat the tops of the buns (including the sides).
- Cover the baking dish with foil and cook for 15 minutes. Remove foil and cook for 10 more minutes to brown the buns. Serve warm with French fries, tater tots or whatever side you’re feeling!
Nutrition Information:
Yield: 12 Serving Size: 2Amount Per Serving:Calories: 385Total Fat: 20gSodium: 600mg
The Easiest Pull-Apart Sliders Recipe
These cheesy pull-apart sliders make an easy dinner or a crowd-friendly snack. If you’re cooking for a bigger group, doubling the original recipe is a simple way to serve more people.
Tried this recipe? Tag me today! I love seeing what y’all are cooking up.
Mention @simply.siobhan or tag #MimosasAndMotherhood!
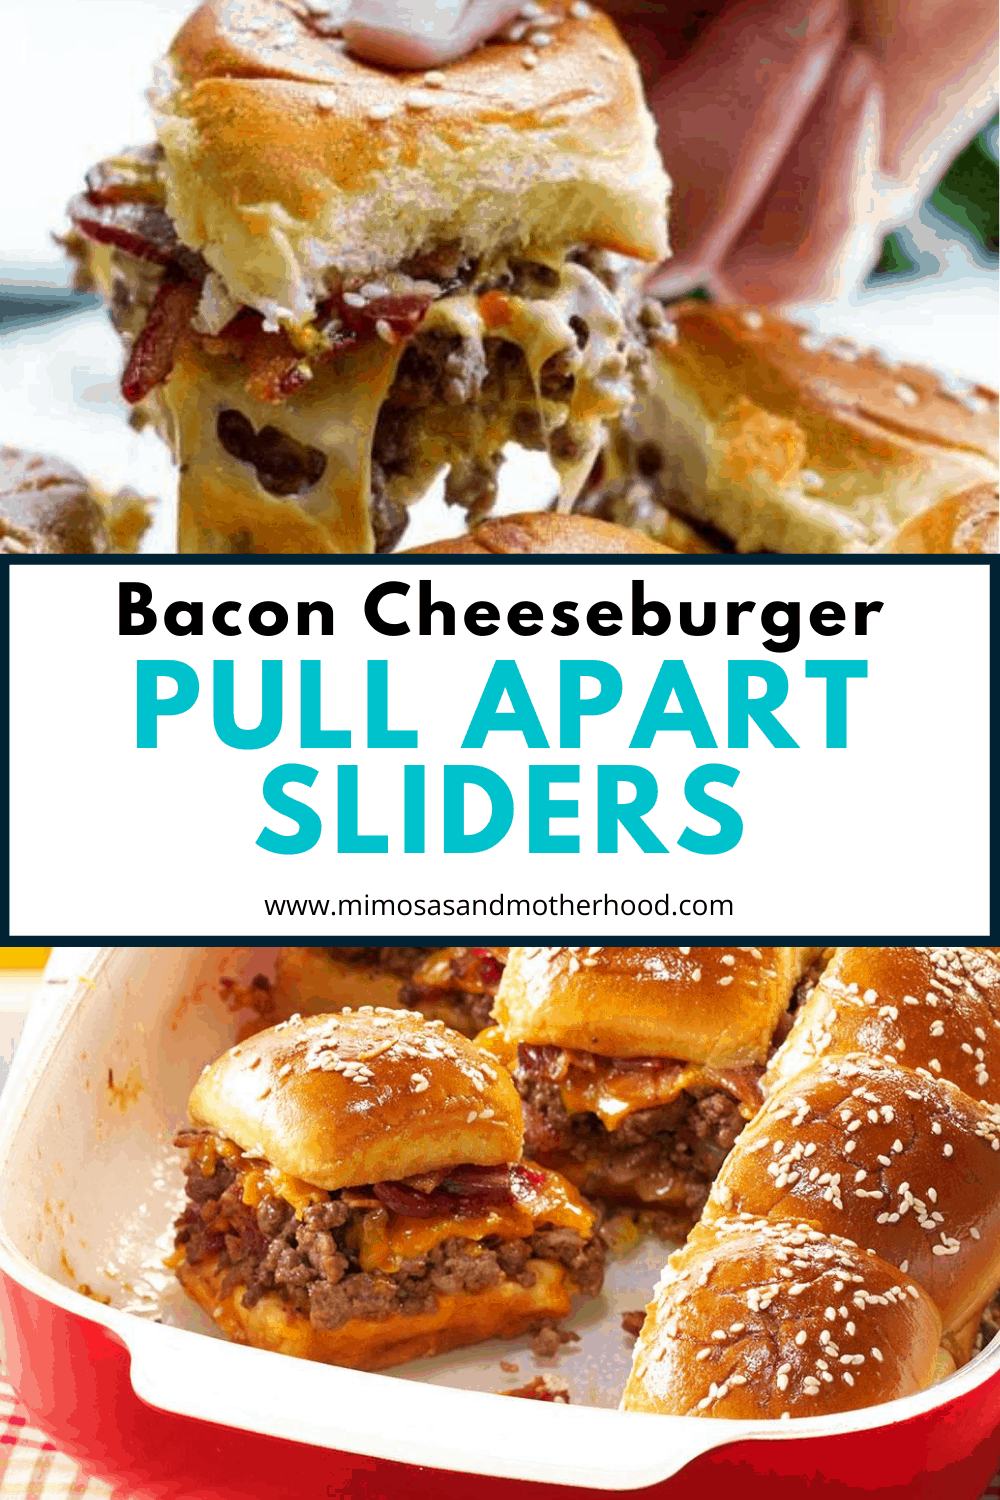




YUM! These look as delicious as they are easy to put together!