No Bake Cookie Monster Cheesecake Bites
Crazy about cookie monster? These delicious No Bake Cookie Monster Cheesecake Bites are perfect for a Cookie Monster birthday party or cute family gathering filled with kiddos!

I’m currently deep in the little kid life, with 3 children under age 5. As any parent of teeny ones can tell you, there are certain characters that are a staple at this age. Sesame Street is a big one!
My boys have loved Elmo, Cookie Monster, the Count and Big Bird for years. I love watching their faces light up when I find a creative way to incorporate their favorite furry friends into meals, parties or special days.
I will also fully admit that juggling 3 littles means that my days of slaving over very complicated dessert recipes are long gone unless it’s a very special occasion. That’s one of the reasons I’ve fallen in love with no bake recipes!
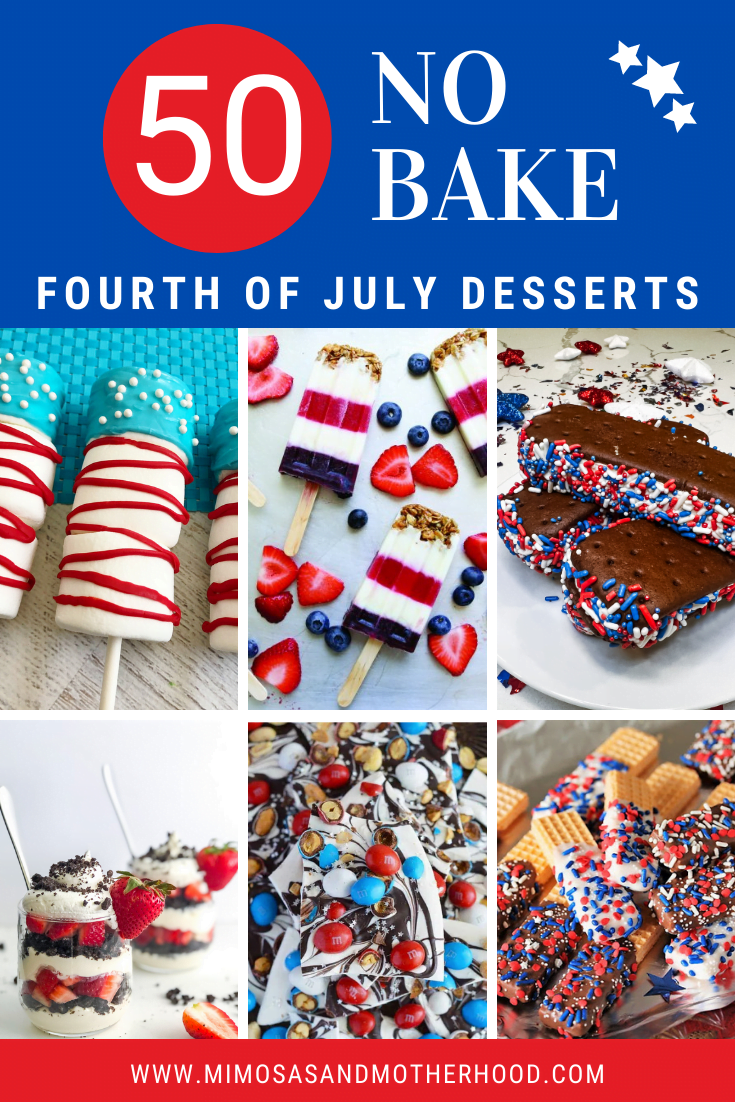
No bake desserts are such a time saver, like this no bake peanut butter chocolate chip cookies. They give me back precious time with my kids, but still allow me to make some extra special goodies.
These No Bake Cookie Monster Cheesecake Bites were created with exactly that idea in mind. They taste like a cookies and cream cheesecake, and the bright blue color is so festive and such a hit!
This recipe is also easy enough that the kids can help make it, too. These yummy Cookie Monster faces require no baking: just measuring and mixing to create the creamy cheesecake filling. They’re such a fun dessert the entire family will love.

Note: Some links may be affiliate links. That means I may make a commission if you use my links to purchase, at no extra added cost to you! I only recommend products that I personally love and believe in. Full disclaimer here.
Cookie Monster Cheesecake Bite Ingredients
We love these easy no bake monster cookie bites! You can also scroll down for the full recipe card with all of the measurements.

For the Cookie Base (aka the crust)
- All-purpose flour
- Salted butter
- Brown sugar, packed
- Granulated sugar
- Vanilla
- Milk
- Mini chocolate chips
For the Cheesecake Filling
- Water
- Gelatin
- Cream cheese
- Sour cream
- Salt
- Vanilla extract
- Powdered sugar
- Blue food coloring (I used Wilton Royal Blue)
- Mini chocolate chip cookies and candy eyeballs for topping
You’ll also need the following kitchen supplies:
- 2 medium mixing bowls
- Electric beaters
- Mini cheesecake mold or large candy mold
- Small mixing bowl

How to Make a No Bake Cookie Monster Cheesecake Bites
This recipe is so fun to make with the kids. The great thing about no bake treats is that you can make these in advance, and they freeze really well too. It makes this a great recipe to create in advance for a Cookie Monster theme birthday party.
My boys love helping to add the food coloring! Remember that you can also scroll down for the full recipe card with all of the measurements, (as well as a printable copy of this recipe).
In a medium mixing bowl, beat together the butter, the granulated sugar and brown sugar using the electric hand mixer. Start at mix speed and gradually increase the speed until you get to medium-high (about 4 minutes).
Add the milk and vanilla and beat for another minute.
Add the flour and mix with a spoon until the flour is incorporated.
Add the mini chocolate chips and stir until they are mixed into the batter.

Press a teaspoon of the batter into each mold. Press firmly to reach into edges or corners. Place in the freezer while you make the cheesecake topping.
In a small mixing bowl, mix together the water and gelatin. Allow it to sit for 5 minutes to bloom. After sitting, pop the bowl in the microwave for 20 seconds to liquify the mixture.
In a large mixing bowl, beat the cream cheese, sour cream, salt and vanilla on high until smooth and creamy, about 2 minutes.
Add the gelatin mix and continue beating the cream cheese mixture on high for another minute. Slowly add the powdered sugar and beat until fully mixed and very smooth with no lumps in it, about 5 minutes.
Fold in the blue food coloring until you reach the desired color.

Spoon the cheesecake over the cookie base and tap the mold on the counter to remove any air bubbles. Using a knife, level the cheesecake mixture in each cavity.
Add a mini cookie to the top of the cheesecake to give your Cookie Monster his mouth and add two candy eyeballs just above.
Once all the cavities are filled, place the mold in the fridge for at least two hours to set (overnight works great too).

Once the cheesecakes are set, remove from the mold and enjoy immediately your mini cheesecake pies. You can store uneaten cheesecakes in the fridge in an airtight container or covered with plastic wrap for up to 6 days.
A few notes for the best Cookie Monster Cheesecake
I used Wilton Royal Blue for the food coloring and Wilton brand mini candy eyeballs BUT you can use whatever you can find in your local grocery store or craft store. I’ve ever found the candy eyeballs in Walmart!
You can freeze these cheesecakes in an airtight container and store them for up to 4 months! Just allow them to thaw in the refrigerator.
However, I do recommend that if you plan on freezing these cheesecakes, leave the eyes off until it is time to serve them. While the candy eyeballs can be frozen, sometimes the candy “pupil” on them might run after thawing and look a little too creepy for Cookie Monster.

If you’re concerned about the use of raw flour in the cookie dough base, you can prep the flour by placing it in a microwave safe bowl and microwave the flour on high for one minute. You can also place the flour on a baking sheet and bake at 350 degrees for 5 minutes.
Think bites are cute but prefer no bake bars? You can also use this recipe to create cookie monster cheesecake bars by following the steps but assembling everything in a casserole dish. Create monster cookie chocolate cheesecake bars by adding some crushed Oreo cookies while making the batter! Make full size cheesecakes using a springform pan.
If you love this recipe, be sure to also check out these:

No Bake Cookie Monster Cheesecake Bites
Crazy about cookie monster? These delicious No Bake Cookie Monster Cheesecake Bites are perfect for a Cookie Monster birthday party or cute family gathering filled with kiddos!
Ingredients
For the Cookie Base
- 1/2 cup plus 2 tablespoons (100g or 3.5oz) all purpose flour
- 1/4 cup (50g, 1.85oz) salted butter
- 1/4 cup (70g or 2.5oz) brown sugar, packed
- 2 tablespoons granulated sugar
- 1 tsp vanilla
- 1 tablespoon milk
- 1/4 cup (50g or 1.7oz) mini chocolate chips
For the Cheesecake Filling
- 1/4 cup lukewarm water
- 2 and 1/2 teaspoons (1 packet) gelatin
- 16 ounces (500g or 2 bricks) cream cheese
- 3/4 cup (195g or 7oz) sour cream
- 1/4 teaspoon salt
- 1 tablespoon vanilla
- 1 and 1/2 cups (250g or 9oz) powdered sugar
- blue food coloring (I used Wilton Royal Blue)
- mini chocolate chip cookies and candy eyeballs for topping
Instructions
- In a medium mixing bowl, beat together the butter, the granulated sugar and brown sugar. Start at mix speed and gradually increase the speed until you get to medium-high, about 4 minutes.
- Add the milk and vanilla and beat for another minute.
- Add the flour and mix with a spoon until the flour is incorporated.
- Add the mini chocolate chips and stir until they are mixed into the batter.
- Press a teaspoon of the batter into each mold. Press firmly to reach into edges or corners. Place in the freezer while you make the cheesecake topping.
- In a small mixing bowl, mix together the water and gelatin. Allow it to sit for 5 minutes to bloom. After sitting, pop the bowl in the microwave for 20 seconds to liquify the mixture.
- In a large mixing bowl, beat the cream cheese, sour cream, salt and vanilla on high until smooth and creamy, about 2 minutes.
- Add the gelatin mix and continue beating on high for another minute.
- Slowly add the powdered sugar and beat until fully mixed and very smooth with no lumps in it, about 5 minutes.
- Fold in the blue food coloring until you reach the desired color.
- Spoon the cheesecake over the cookie base and tap the mold on the counter to remove any air bubbles. Using a knife, level the cheesecake mixture in each cavity. Add a mini cookie to give your Cookie Monster his mouth and add two candy eyeballs just above.
- Once all the cavities are filled, place the mold in the fridge for at least two hours to set (overnight is even better).
- Once the cheesecakes are set, remove from the mold and enjoy immediately.
Notes
- I used Wilton Royal Blue for the food coloring and Wilton brand mini candy eyeballs BUT you can use whatever you can find in your local grocery store or craft store. I’ve ever found the candy eyeballs in Walmart!
- You can freeze these cheesecakes in an airtight container and store them for up to 4 months! Just allow them to thaw in the refrigerator.
- However, I do recommend that if you plan on freezing these cheesecakes, leave the eyes off until it is time to serve them. While the candy eyeballs can be frozen, sometimes the candy “pupil” on them might run after thawing and look a little too creepy for Cookie Monster.
- If you’re concerned about the use of raw flour in the cookie dough base, you can prep the flour by placing it in a microwave safe bowl and microwave the flour on high for one minute. You can also place the flour on a baking sheet and bake at 350 degrees for 5 minutes.
Did you try this recipe? Let me know with a comment and rating! Your 5 star ratings and sweet comments help to support our family business, and help other readers as they create their dishes, too! You can also use the image below to pin it to your Pinterest board to help you easily find it again! 🥰

