How to Make Sensory Bags for Babies & Toddlers
Looking for a great way to help your baby develop new skills? Baby sensory bags are a great tool and so easy to make. Read on for how to make your own, plus get some FREE printable play sheets to make your sensory bags even more fun!
Babies love to put everything in their mouths, which can make it hard to give them anything more interesting than a teether! Baby sensory bags are the perfect way to help your little one to develop grasping skills, midline hand use (using the hands in the center or the body), body awareness and sensory exploration.
Baby sensory bags allow you to let your little one safely explore all sorts of objects without you having to stress about everything just ending up in their mouths. Plus, they love the feeling of the squishy bag! All you need is a plastic bag to start making your own sensory activities at home. Read on for some fun ideas on how to make sensory bags for babies and toddlers!
Note: Some links may be affiliate links. That means I may make a commission if you use my links to purchase, at no extra added cost to you! I only recommend products that I personally love and believe in. Full disclaimer here.
The Benefits of Sensory Bags
Sensory play is so important for children and their development. Children learn through exploring with their senses. Sensory play gives them a way of learning about their world through touch, sight, taste, smell and more. If you’re curious about more of why sensory play is important, I recommend reading Why Sensory Play is Important.
Sensory bags and sensory bottles are a great way to keep your little one entertained. Expect baby to slap, push, drool on and play with the bag anywhere from 1-10 minutes. They are great for attention-span building, hand eye coordination, visual scanning and sensory exploration. They are also a great tummy time activity if your little one isn’t sitting up yet.
How to Make A Sensory Bag
Making baby sensory bags is easy! You’ll need a sturdy gallon-sized plastic bag/ freezer bag or a secure bottle (I love these bottles!!), some sort of thick liquid to fill the bag if needed, and small items for your baby to touch and look at. (Feel free to use more than one Ziplock bag if you want extra peace of mind!)
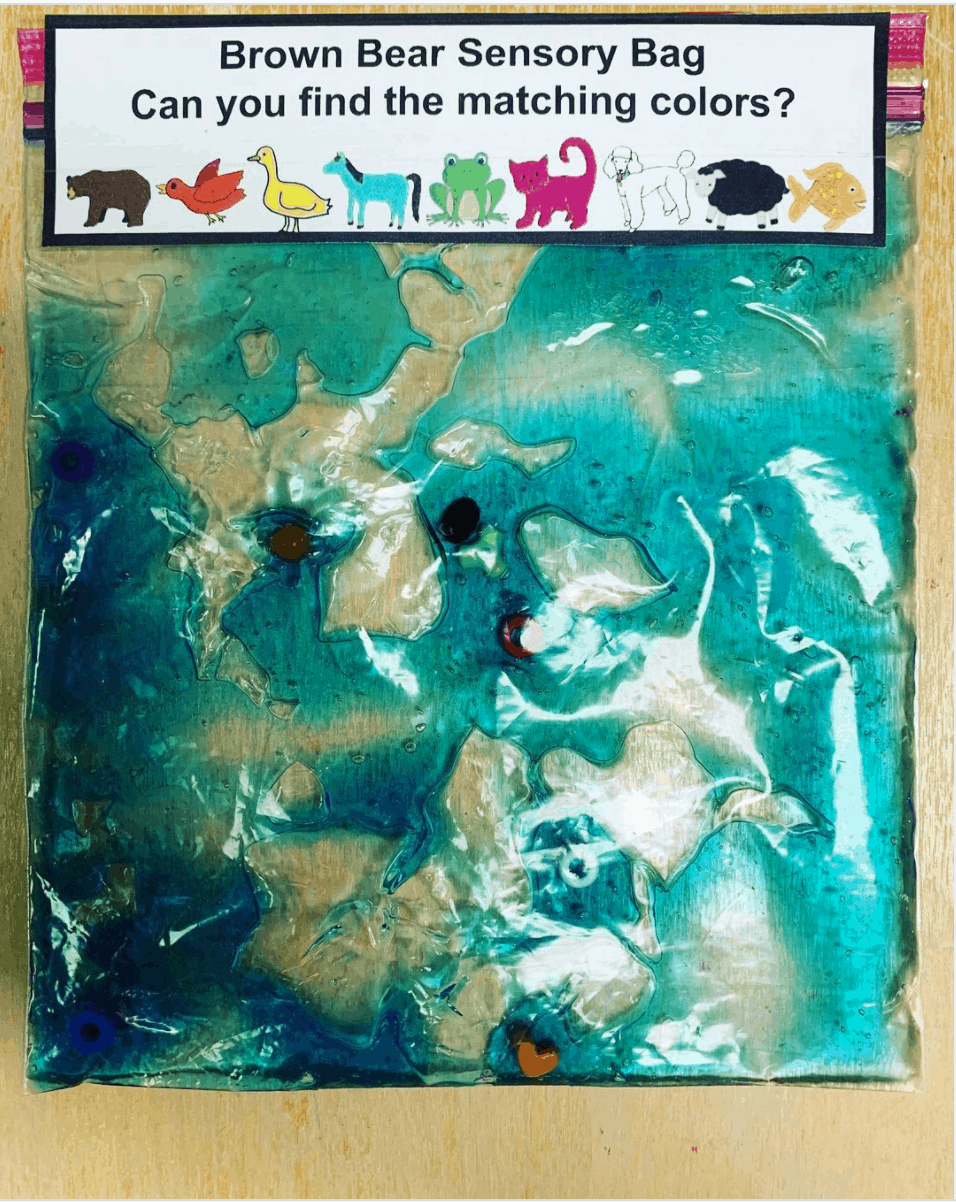
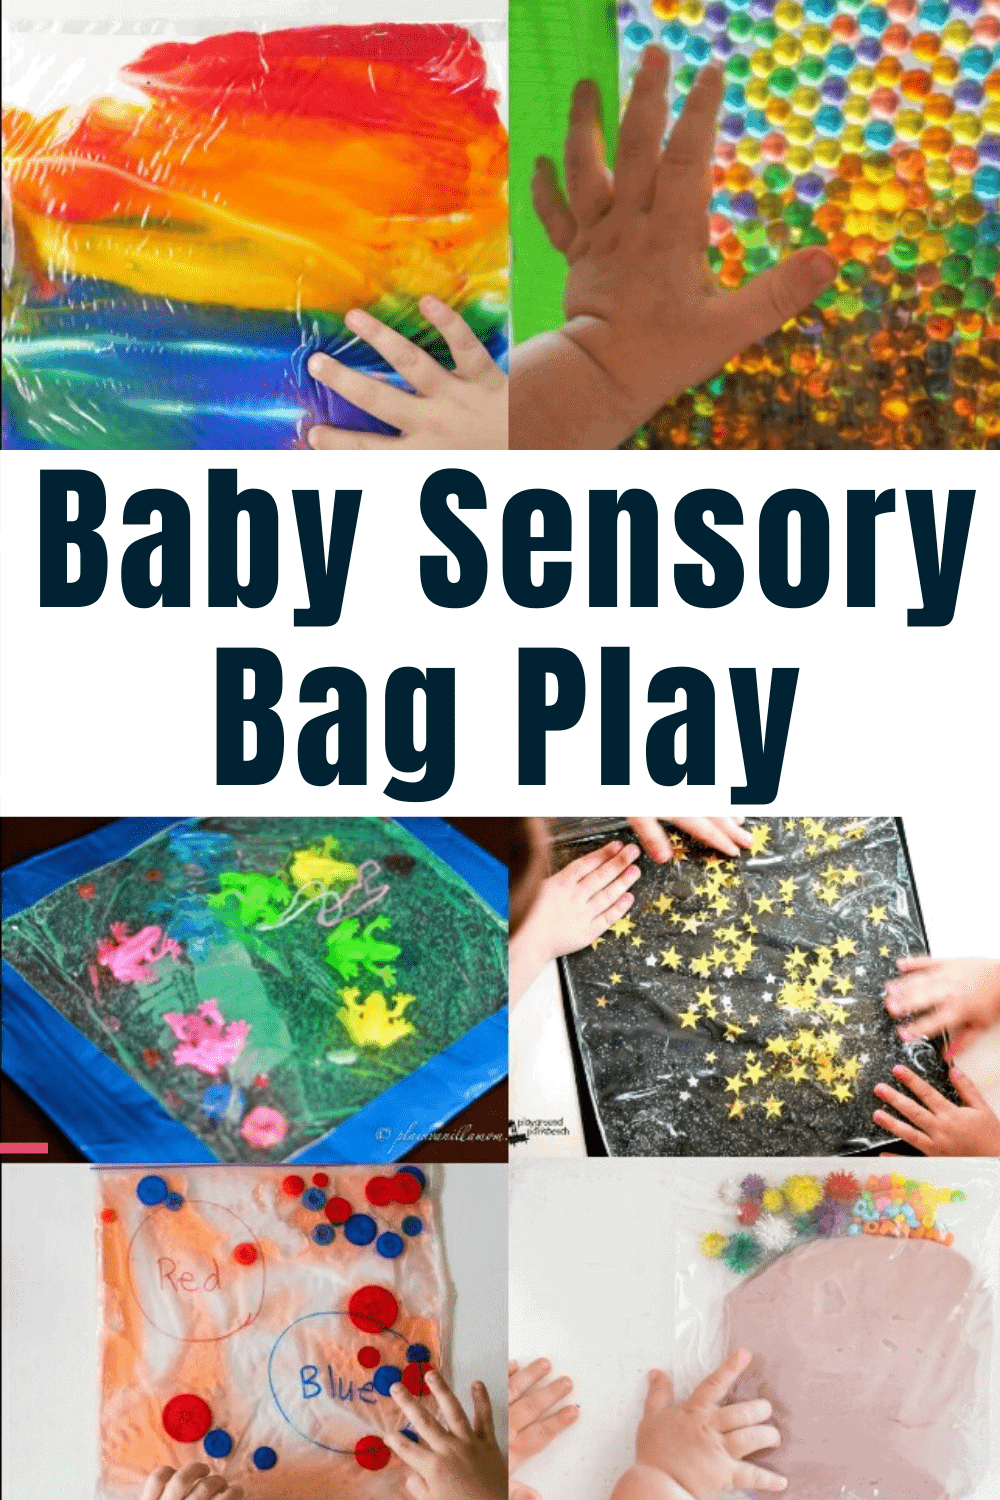
Lost on what to put in your sensory bag? Bags can be as intricate or simple as you’d like, though you might need to get more creative as your little one grows. You’ll want to add a combination of background items and “fun toppings.” I’m linking some of my favorite sensory bag and bottle items further down this post too!
Related: The 10 Best Montessori Toys on Amazon
Pour your ingredients in (aka your sensory bag fillers), squeeze as much of the excess air as you can out of the bag, and then seal it. If you’re using a bottle instead of a bag, I recommend using hot glue around the inside of the bottle cap to help make it extra secure when you seal it.
Always double check that it’s sealed before giving to your baby. You can also tape the edges of the bag and/or the seal with a wide tape for extra safety.
There are so many combinations for baby sensory bags and bottles! The whole idea behind them is that you create a very different sensation depending on what items you put inside of it. So have fun trying out different combinations to find your little one’s favorite sensory bags.
Below are a few of my personal favorite items to put in sensory bags and bottles. I like to mix and match different sizes and styles to keep him interested. I’ve linked each of them for you, too!
“Background Substance” Ideas:
- Dry rice (or dyed rice, which you can learn how to make here too)
- Dry beans
- Dry popcorn kernels
- Sand
- Cereal
- Crushed crackers
- Flour
- Sugar
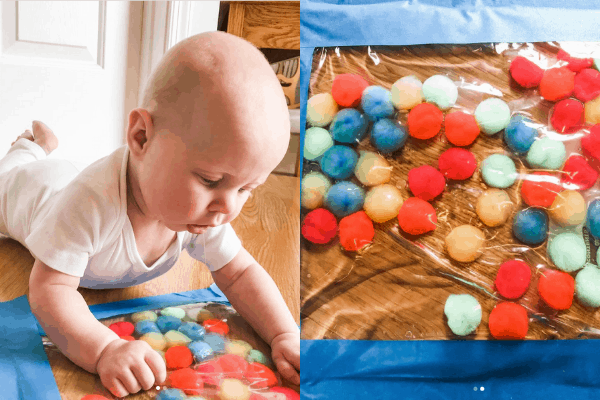
- Cotton balls
- Shredded paper
- Dry leaves or flowers
- Dry pasta noodles (they’re so easy to dye, too! Check out the tutorial here.)
- Cooked pasta noodles
- Jello
- Pudding
- Water
- Ice
- Baby oil
- Hair gel
- Shaving Cream
- Play-dough
- Paint
“Fun Topping” Ideas:
- Buttons
- Seashells
- Craft pom poms
- Little foam shapes
- Glitter
- Marbles or other balls too small to give your kiddo
- Googly Eyes (for craft projects)
- Gummy bears or gummy worms
- Water beads
- Tapioca beads
- Fake flowers
- Food coloring
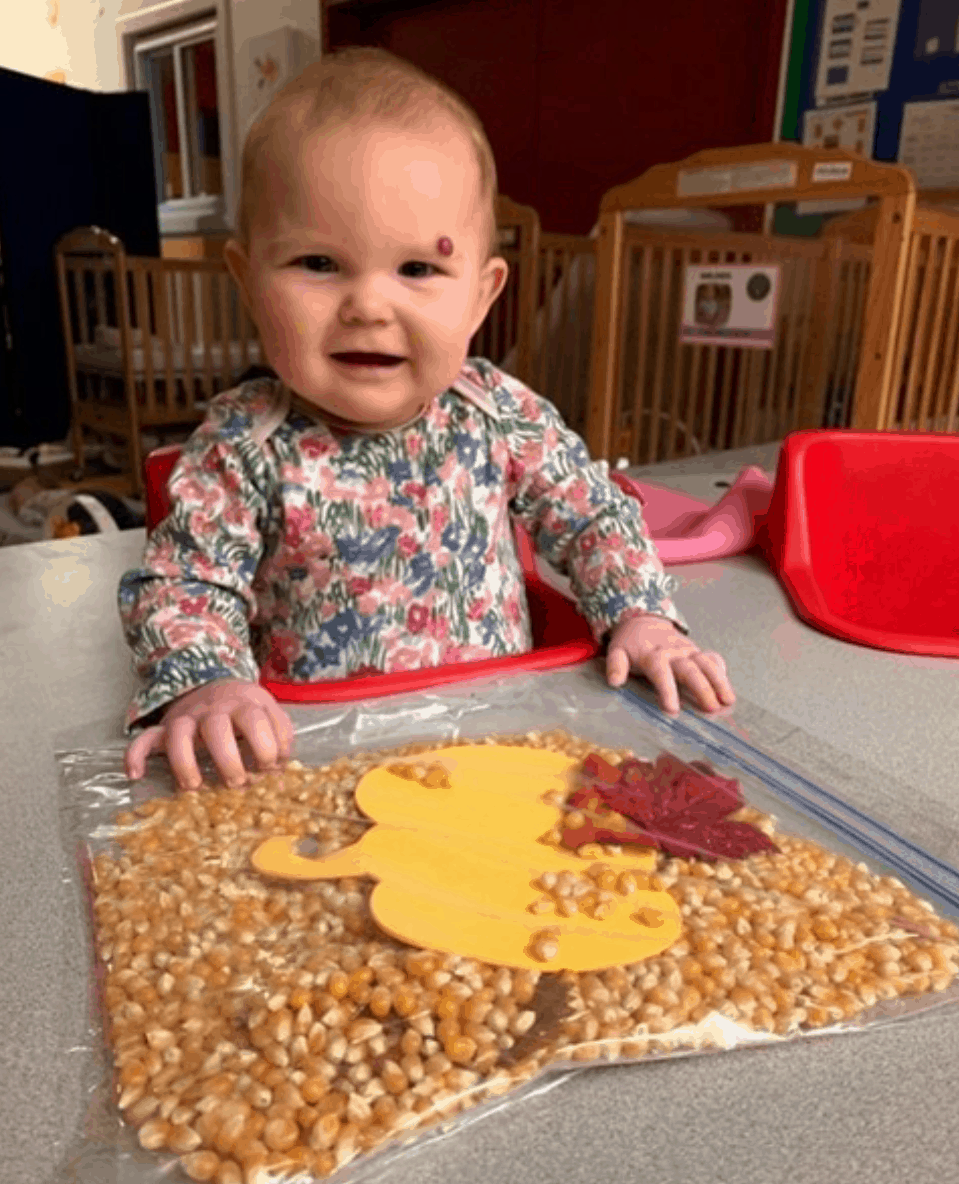
You can find a ton of great options online, but also at your local Dollar Store to make these a fun, simple sensory bag. Experiment with using different textures and bright colors! Many of the items you might think to put into sensory bins also work great as sensory bag ideas.
Tip: Be sure the “fun toppings” you choose aren’t pointy if you’re using freezer bags, so that they don’t rip the bag or poke your little one.
Free Printable Baby Sensory Play Sheets
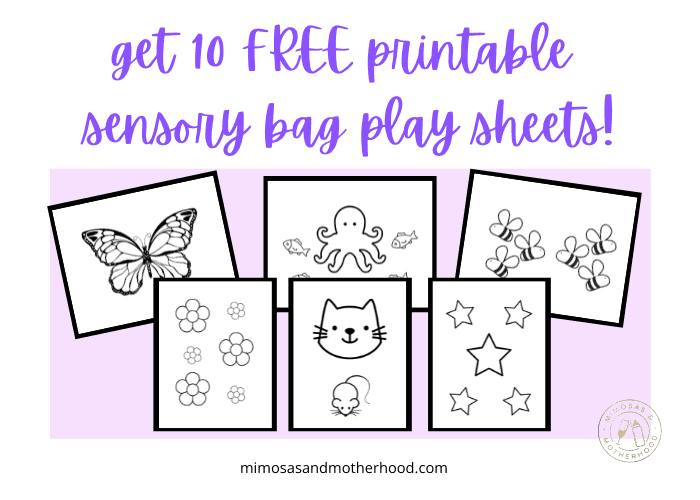
Looking for even more fun for your baby sensory bags? Snag these 10 free printable sensory bag play sheets! Just print them out at home, and put them behind your sealed freezer bag! Your little ones will love discovering the different patterns, working to push the sensory objects into the shapes, and moving their bag contents around to find more!
These free printable sensory bag play sheets are great for babies and toddlers, and are a fun way to mix things up with your little one and try a different activity.
Sensory Bags for Different Ages and Stages
Need some inspiration on how to use sensory bags? Check out these tips below for every stage of your baby’s first year.
Tummy Time
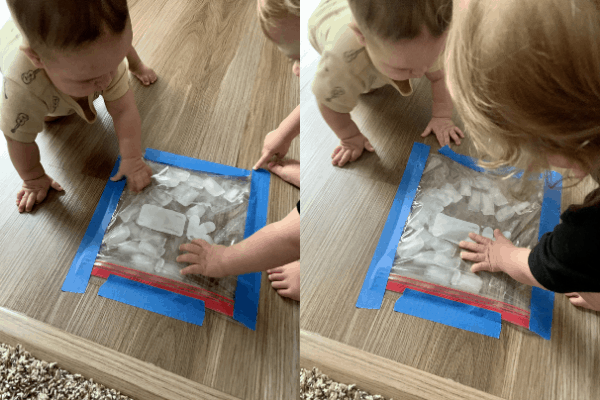
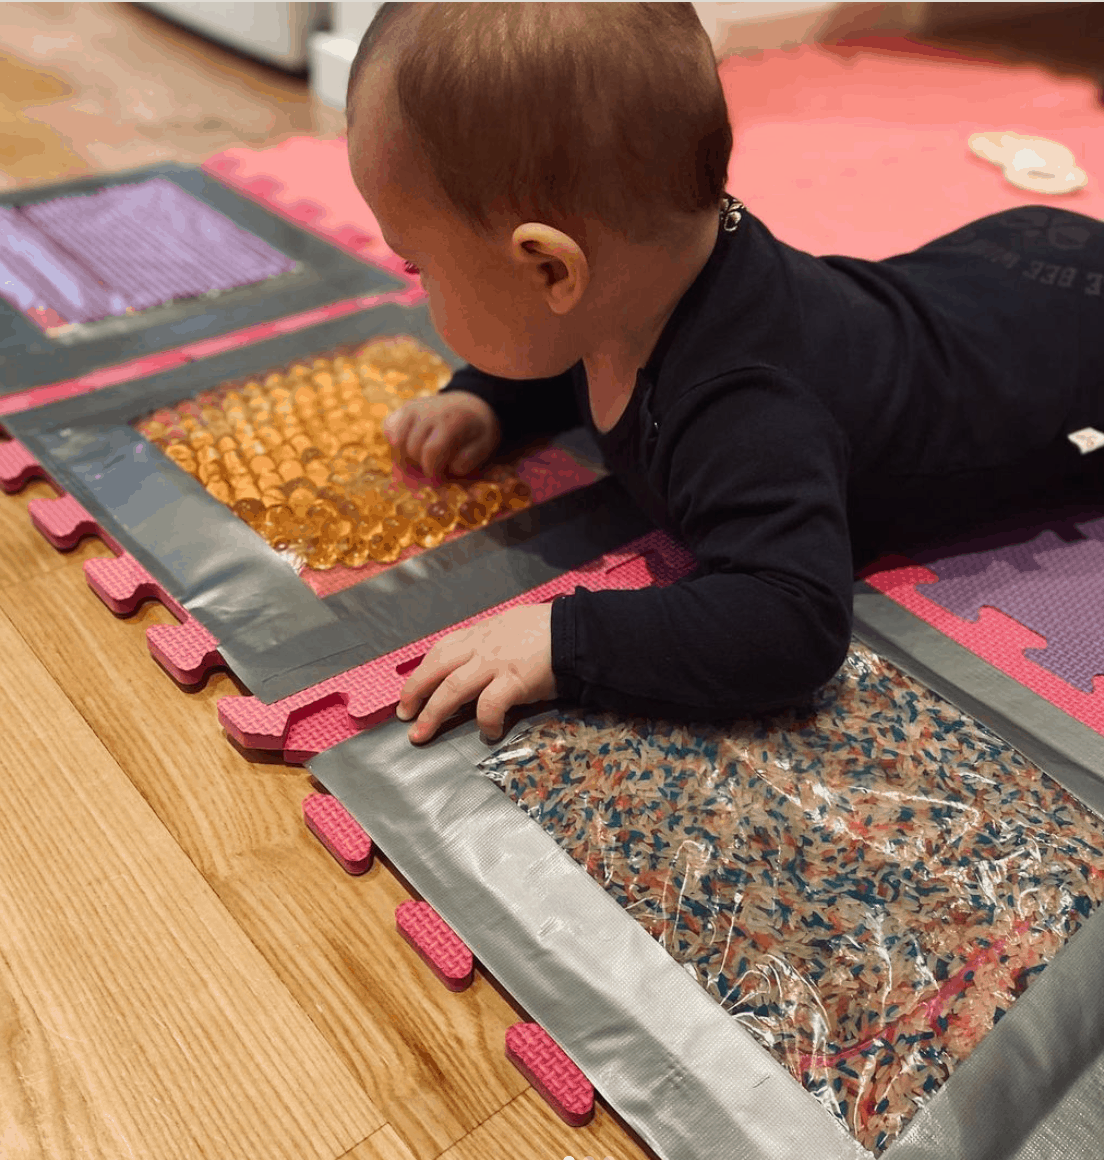
Sensory bags are great for tummy time play! Use wide tape (like painters tape or even duct tape) to tape the side of the bag to prevent leaks, and then tape the bag to the floor. If you find the your baby isn’t quite able to reach it, use a nursing pillow or folded blanket/towel to lift their chest. This helps to free their hands to reach all the fun items in the bag.
Seated Play
Once your baby is starting to sit up, you can let him hold and shake the bag for some fun interaction. First, be sure you’ve taped the freezer bags closed (because that little guy is getting stronger by the day). You can also use wide tape to attach the sensory bag to vertical surfaces (like the door, a cabinet, or even the front of the dishwasher).
If your baby loves being in a jumper or activity center, you can also tape the sensory bag to the floor under his feet. He will love the experience of jumping up and down and having his toes have a different sensation.
Standing Play
If your baby has started standing, you can tape a sensory bag on the same type of surfaces, just a little bit higher. Think chest or shoulder height of your baby.
For young toddlers, you can also experiment with adding in learning activities, like alphabet letters and sight words! Just print or write out words and letters and laminate them before placing them in the ziploc bag. They’ll have so much fun figuring out different ways to put the letters together!
Keep in mind that even if your baby is standing, you want to keep in mind their age range. Some fun sensory bins, like this alphabet sensory bin, are only appropriate for toddlers and up.
Baby sensory bags are a fantastic way to help your baby develop motor skills and have fun.
Tried this out? Tag me today! I love seeing what y’all are up to.
Mention @simply.siobhan or tag #MimosasAndMotherhood!



I love these ideas! I’m going to be trying to make my own this week.
So glad you love them!
So many cute ideas! Do you think I could use things like rice?
Absolutely! If you’re concerned about it being too pointy, you can double bag your Ziplocks!
Wow really its amazing. It’s very useful for my little one. Thank you for sharing all those information
They’re so fun to make!
[email protected]
I’m a grandma taking care of our 4 month old baby boy. I appreciate all your ideas and will be starting these projects today !!!!!
I’m so glad these were helpful for you!
What do you use as your “thick liquid”? Thanks!
Hi Jess! I have used multiple things before: hair gel, hand soap, even olive oil or shampoo!
What do you recommend taping these to if your house has mostly carpet? The only place we don’t have carpet is the kitchen and that’s not a safe space for my baby.
Hi Sarah! I actually do tape these to my kitchen floor, because our home is mostly carpet too! I just make sure to keep a really good eye on him on the floor. If your baby is using a high chair, you can also tape these onto the high chair tray!
such great ideas, simple, economical, and babies love it.
Thank you so much!